
A How-to Video Guide
Join Renee as she shows you how to apply your Flutter lashes like a pro.
It’s fast, foolproof, and totally beginner-friendly. You’ll learn exactly how to prep, place, and perfect your lashes for that seamless lash look in minutes.
How To Apply Your Flutter Lashes
Quick Steps to Flawless, Lasting Lashes
Welcome to the world of Flutter! Get ready to transform your look with our next-generation DIY lashes. Follow these quick, simple steps for stunning, salon-quality lashes in less than 10 minutes, beautifully capable of lasting up to 10+ days. For the ultimate in lash health and to keep your Flutter lashes pristine, we love a weekly 'Lash Reset' – learn more in our Lash Maintenance Guide!
Before You Start: Prep is Key!
-
Start Fresh
Gently wash your natural lashes with an oil-free cleanser or a dedicated oil-free lash wash. It's crucial that your natural lashes are completely clean, dry, and free of any products, most especially oil-based makeup or skincare. -
Get Your Curl On
Curl your natural lashes using an eyelash curler. For those tricky inner or outer corners, a mini curler can be your best friend! -
Pick Your Perfect Lash Map
Whether you’re aiming for the effortless beauty of a Natural Eye, or the red carpet glamour a Cat Eye brings, knowing your map will guide your placement. Refer to our Lash Maps section for inspiration and detailed instructions!
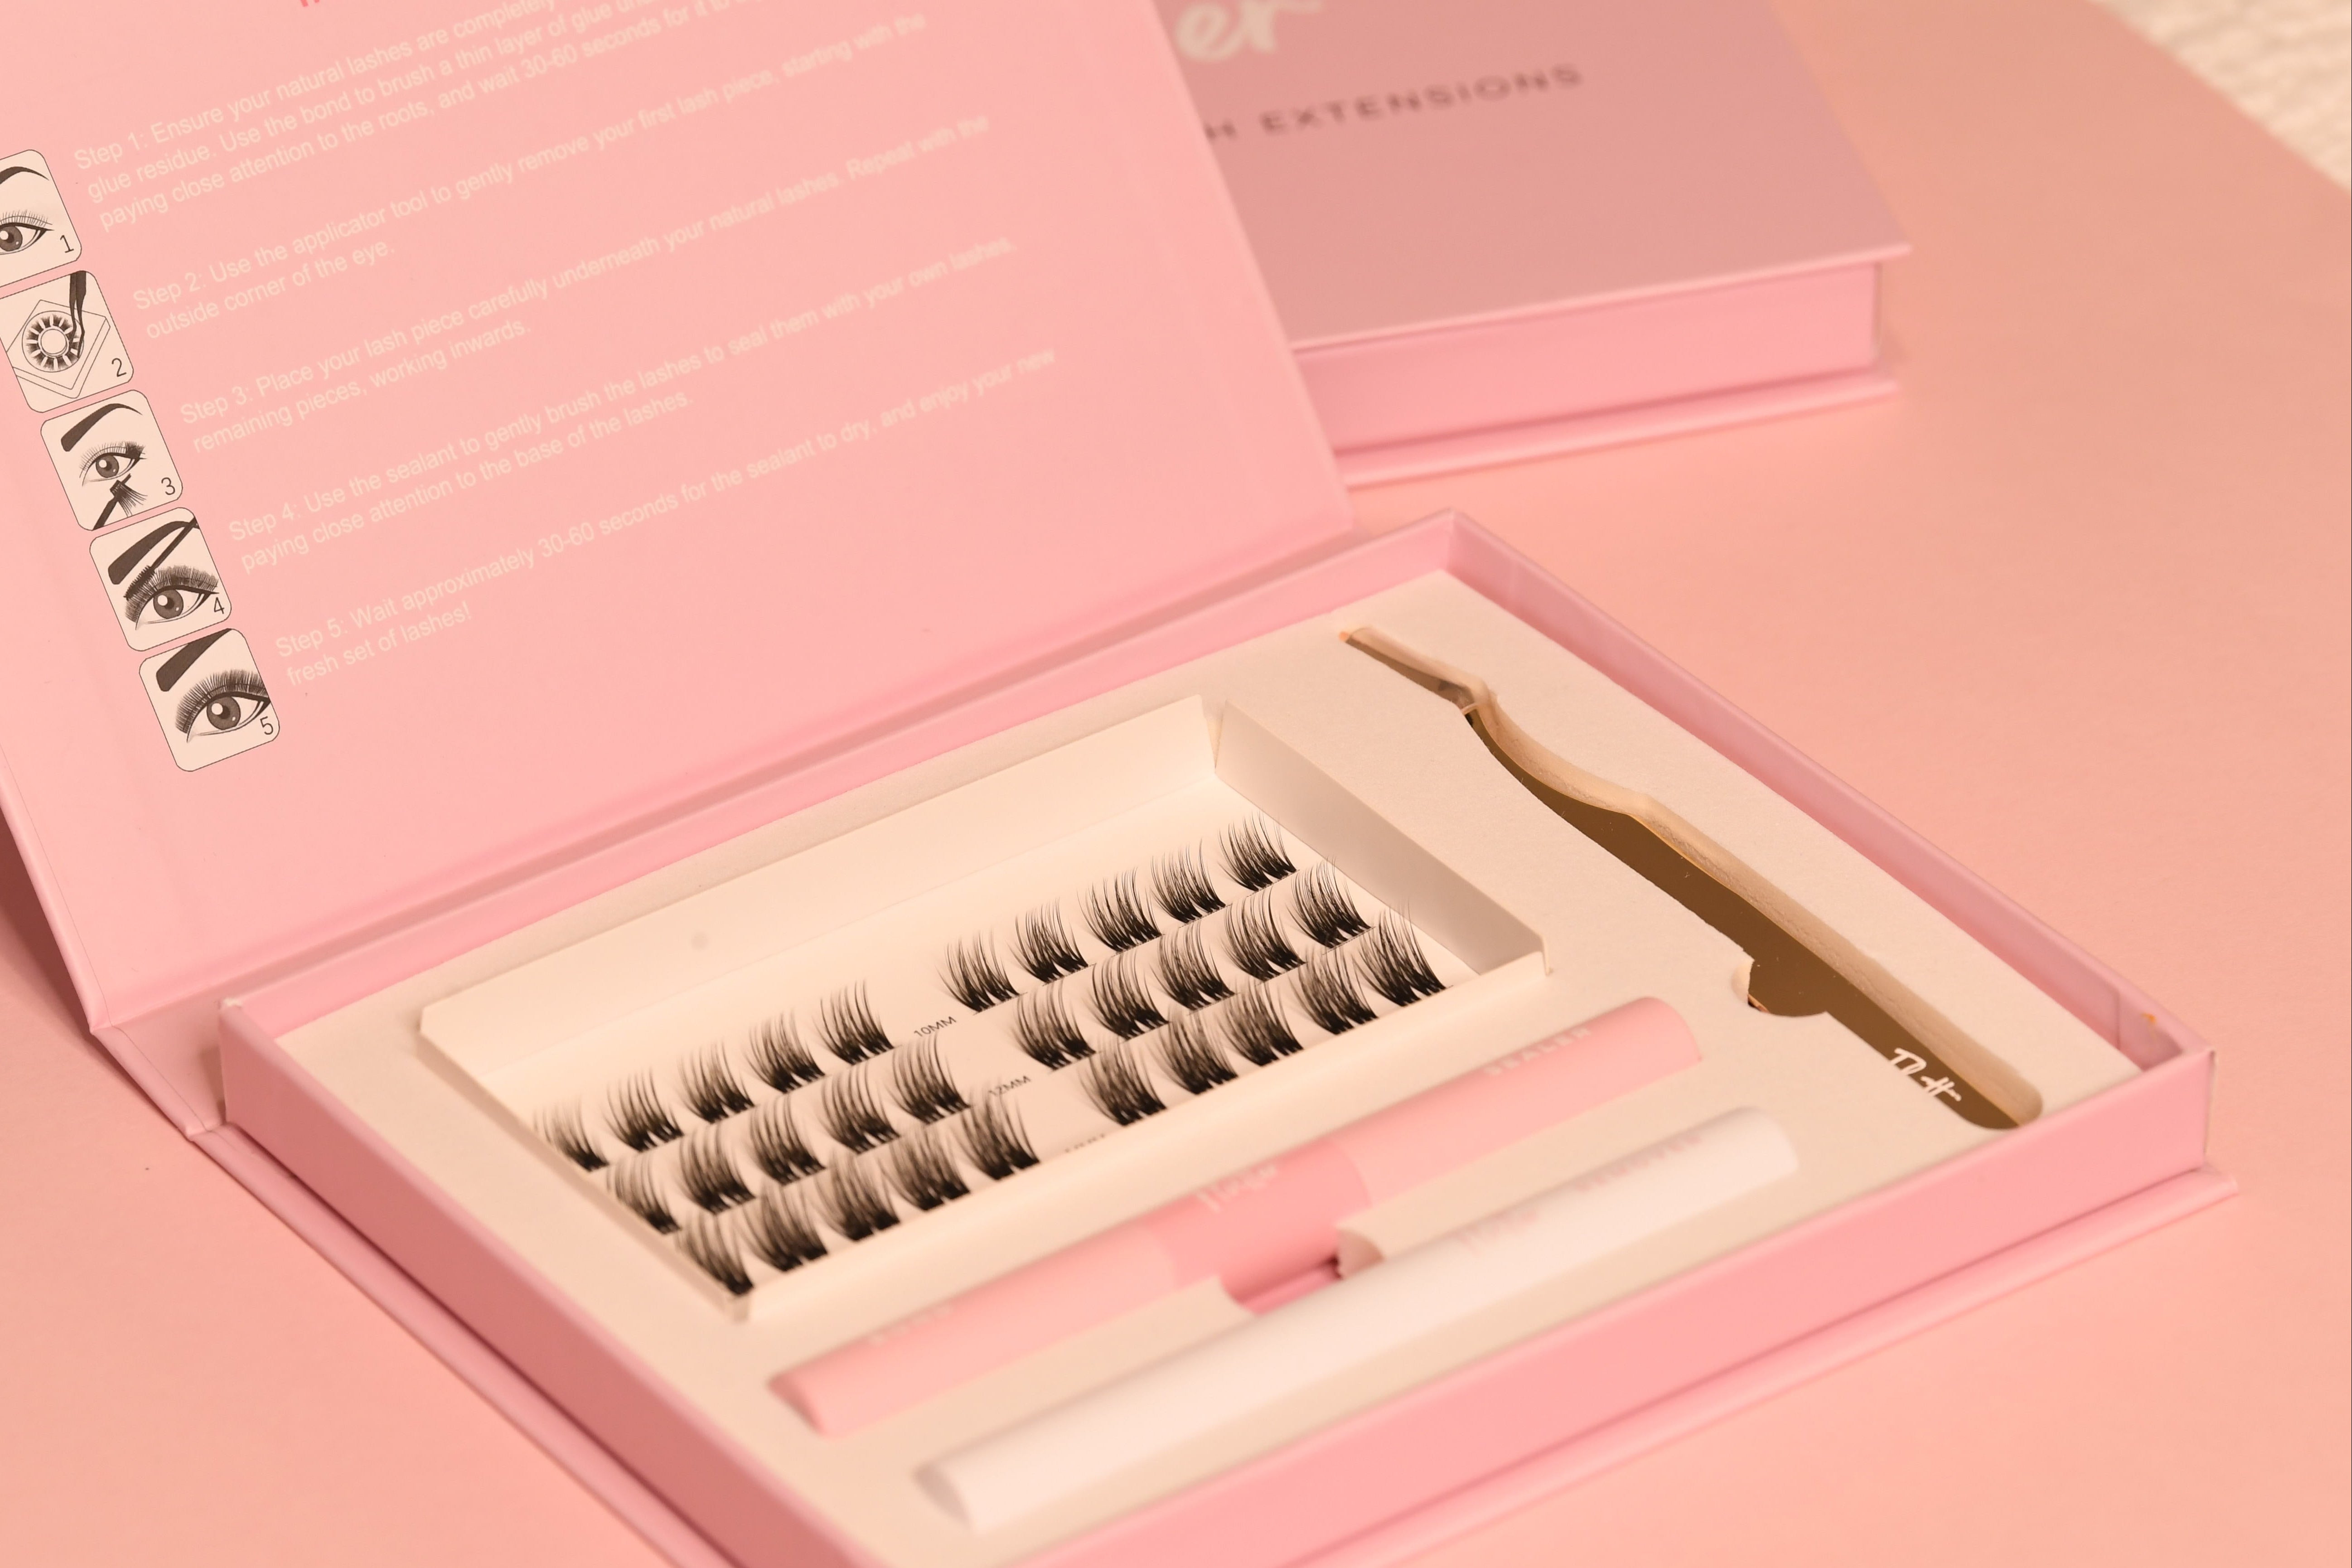
Step-by-Step to Your Dream Lashes
-
Apply the Bond
Apply a light coat of Bond to the base of your natural lashes (where the roots are) using a gentle press and wiggle motion.
Important: Do NOT sweep the bond upwards like mascara. Less is more for a secure, comfortable hold.
Wait approximately 60 seconds for the Bond to become tacky. -
Place Your Lash Clusters
Carefully remove a lash cluster from its tray with your Precision Tweezers. Grip near the base of the lashes, but hold it in the top third when applying for better control.
Looking downwards into a mirror can help. Gently lift your eyelid and apply the cluster underneath your natural lashes, about 1-2mm away from your waterline.
Important: Ensure the cluster band does not touch your skin or waterline. This protects your natural lash health and ensures that barely-there, comfortable feel.
Place clusters side-by-side according to your chosen lash map. Ensure the bands sit flush next to each other (without overlapping) for a seamless, invisible look. -
Fuse for Perfection (Before Sealing!)
Once all clusters are in place, use your Precision Tweezers to gently clamp the clusters and your natural lashes together.
Work along your entire lash line, holding the clamp for a few seconds in each section.
Pro Tip: The Bond will still be tacky, so lift and move your tweezers carefully. If they get sticky, a little translucent powder on the tips or cleaning them with an alcohol wipe will help. Remember to clean your tweezers after every full application. -
Seal the Look
After fusing, it's time to seal! Like applying lipgloss, swipe your Sealer wand only across the base of your extensions where they are bonded.
Important: Do NOT sweep the sealer up through the lashes like mascara. Too much sealer can cause the bond to turn white and flaky. A little at the base is all you need for that lasting hold.
Immediate Aftercare: Protect Your Flutter!
Avoid getting your new lashes wet (this includes water, steam, and heavy sweat) for the first 24-48 hours. This allows the Bond and Seal to fully cure, achieving that incredible 10+ day wear. After this period, they are wonderfully waterproof!
Our Pro Tips for Lasting Lashes
- Post-Shower Power: We recommend you gently re-clamp your lashes with your tweezers after they get wet (from showering, swimming, etc.) to reinforce the bond.
- Seal Sparingly: If you feel the need, you can top up your Seal very lightly at the base during the week. Be mindful that too much can lead to white, flaky residue.
- Keep Them Clean: Yes, you can (and should!) wash your lashes daily for optimal eye health. Use an oil-free cleanser or a specific oil-free lash wash, being very gentle around the bonded area.
- Oil is the Enemy: Just like with professional salon extensions, avoid all oil-based products (skincare, makeup, makeup removers) directly on or around your eye area when wearing your Flutter lashes. Oil will break down the bond, causing your beautiful lashes to come off prematurely (our Remover is oil-based for this very reason!).
-
Clean Your Precision Tweezers:
It's crucial to keep your Precision Tweezers clean for hygienic and effective application. After each use (applying or removing lashes):- Use an alcohol swab to thoroughly clean all surfaces of your tweezers, taking particular care of the tips. This effectively removes any Bond or Seal residue and sanitises your tweezers.
- Alternatively, moisten a lint-free pad with isopropyl alcohol and carefully wipe down your tweezers.
- Allow them to air dry completely before storing. Clean tweezers keep them hygienic and prevent buildup that can cause your extensions to stick to your tweezers during future applications.